Discover photo folders in your gallery
Our step-by-step guide.

Folders is a feature which let you split photos into themas in your gallery. Folder name can describe each theme or time of photo set creation.
Creating gallery from wedding for instance you can create following folders: Ceremony, Wedding party etc.
Once you have outdoor wedding session ready, you can add another folder called Outdoor wedding session and publish additional photos later.
In such photo gallery your new photos will not mix with the ones your client already seen. Client will be able to go new folder with one click.
1. Add new folder to your gallery
Each gallery has one default folder called  .
To add folder open menu and select
.
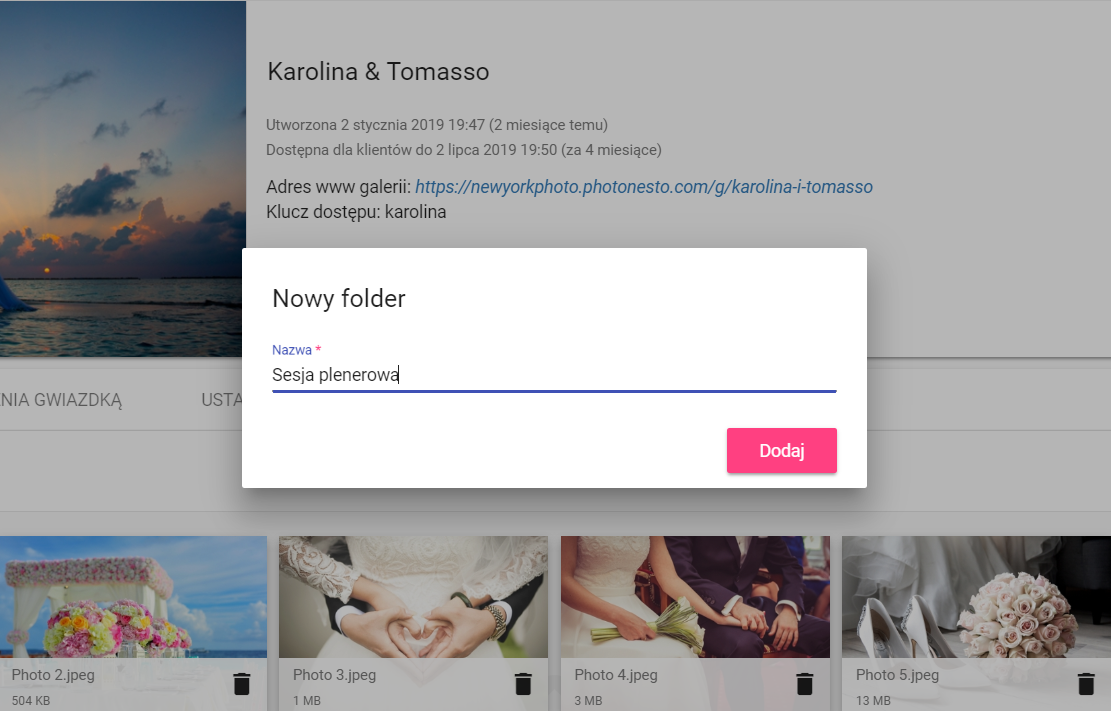
To add folder open menu and select  . In modal window provide
new folder name and confirm clicking add button.
. In modal window provide
new folder name and confirm clicking add button.
Change existing folder name
Folder name is something you can always change. To do that open folder menu
 , and select
 . In opend modal window provide
new folder name and save.
. In opend modal window provide
new folder name and save.
2. Upload photos and publish
We are ready to upload new photos to just added folder. After uploading photos are not yet available to you client, to make them available you have to published changes.
3. Folders in client photo gallery
In client photo gallery folders are visible next to gallery name. One click on folder name will display photos you just uploaded. Once client scroll down to the end of photo set, all available folders are also visible so that client can continue browsing.
Summary
Folder let you organize photos in your gallery in better, more systematic way. Thanks to folders you can split gallery into themes which describes story you want to tell.